Project Log Processing Center (LPC) Kit Assembly Instructions


General Notes:
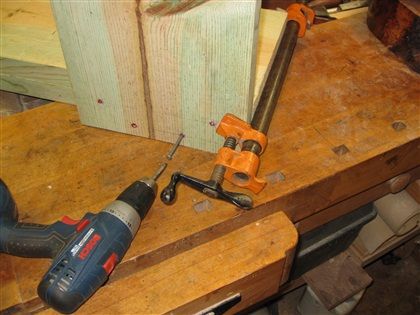
- Self Tapping, square head screws are provided.
- Use a Square Head drill driver.
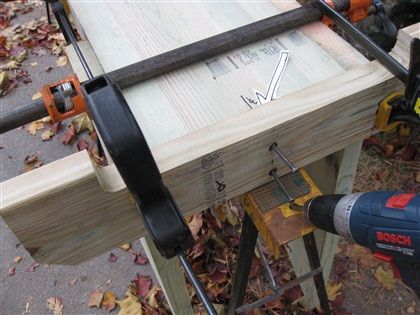
- Use of pipe or bar clamps to securely hold the components together before driving screws is highly recommended.
Kit Components:
- 2 - 2"x12"x27" Base Boards
- 4 - 2"x12"x32" 45 degree angled side boards
- 2 - 2"x6"x24" Outrigger Feet
- 2 - 2"x12"x8" Saddle Cross Pieces
- 1 Bag of Square Head, Rust Resistant Screws
Please read through all of the directions below before beginning construction to assure that you understand each step.
Step 1:
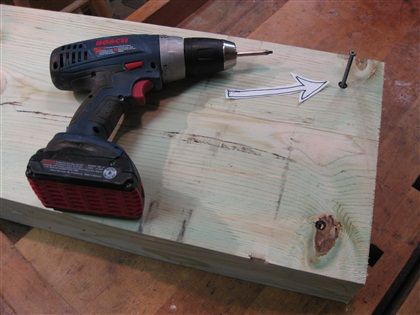
On a flat surface, table or workbench, place the two 2"x12"x27" baseboards on top of the other with the board that has the premarked holes on top. This board will be the bottom baseboard. Screw the two baseboards together with four 2 1/2" screws.
Step 2:
Now with the two baseboards screwed together, Lay on a flat surface, clamp one 45 deg. angled sideboard with its right side edge flush with the baseboard's end edge.
Attach with four 2 1/2" screws through the premarked holes.
Step 3:
Repeat step two for all three remaining angled sideboards, using four screws each in the premarked holes.
Step 4:
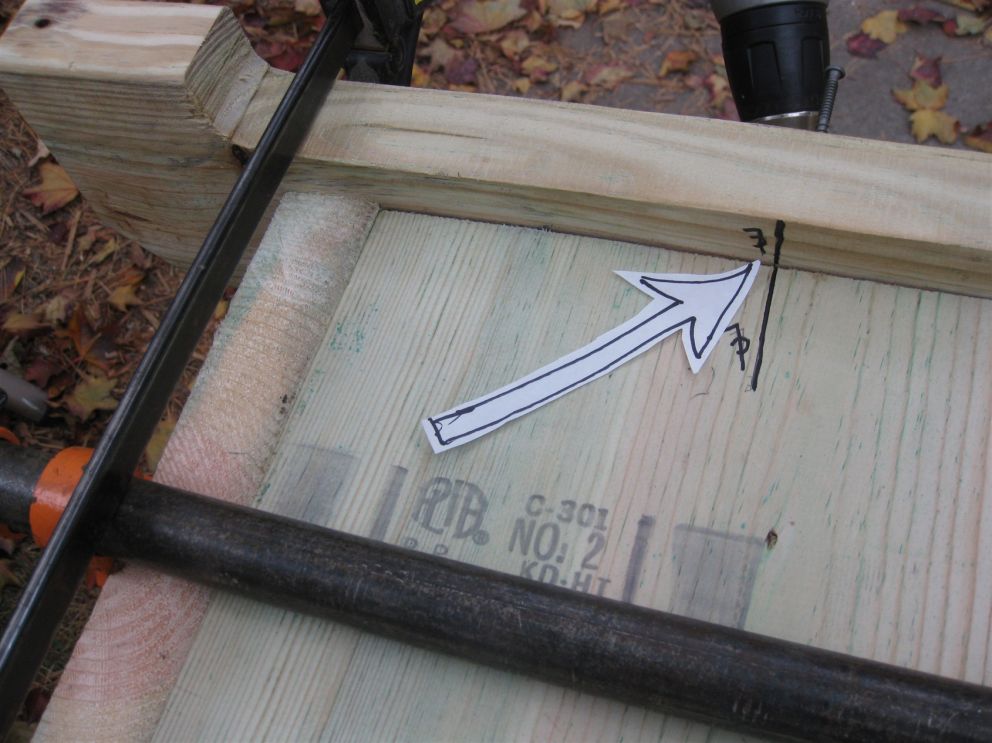
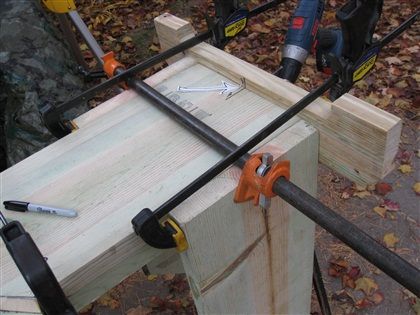
Turn unit upside down and straddle over a saw horse or any narrow projected surface so that the top side base is now resting on a flat surface. Lay the outrigger foot piece as shown flush against the base and align a marked center line on the outrigger foot with a marked center line on the base. Clamp and fasten it to base with six 2½" screws through the predrilled holes. Repeat above for the second outrigger foot.
Now drive one screw "up" from the bottom of each foot at the marked spot countersinking the screw slightly. This will reinforce the foot and help prevent splitting. (One screw for each of the four points where the feet tough the ground.)
Step 5:
Place one 2"x12"x8" cross piece between two oposite side boards. Clamp the three boards tightly together and fasten each side with 2 - 2½" screws through the premarked holes. Repeat for the other piece.
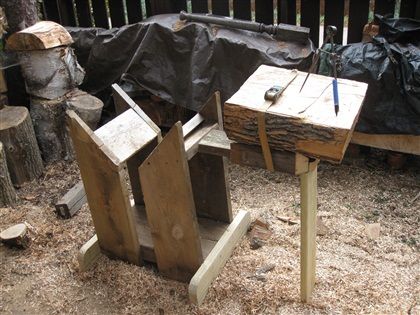
ASSEMBLE NOW COMPLETE!
You are now equipped to safely prepare bowl blanks with a chain saw.
The use of a short length (~48") nylon strap/ratchet load binder type clamp quickly fastens & supports extended length logs beyond the LPC for trimming back checked ends and/or cutting blanks to proper length.
This is an optional trim shelf useful for safely cutting off the blank's corner edges.
Lee Tourtelotte - leetourtelotte@msn.com
Gar Brown